INTRODUCTION
John and I met again to play our second round of nine games in the campaign system in the Longstreet Rules. Having failed to take pictures of all the important parts of our battle I decided to set up my GoPro camera to capture it all. The disadvantage of this is that it sits in one location and doesn’t give an angled view of the action. Nevertheless I tried it out and you can see the results. The camera was set on video mode so I could go back over the battle and review what we were saying as we interpreted the rules, which is just as well as we were still getting some of the mechanics wrong. Fortunately it didn’t affect the outcome but would have given John a victory against one of my regiments as opposed to not gaining any ground. Again I was playing the Confederates and John the Union. I am Col. Sanders and he is Col. McDonald, each of us trying to get the best war record for boasting rights.

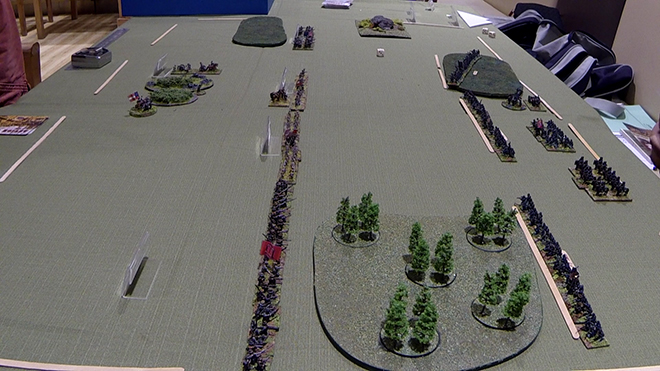
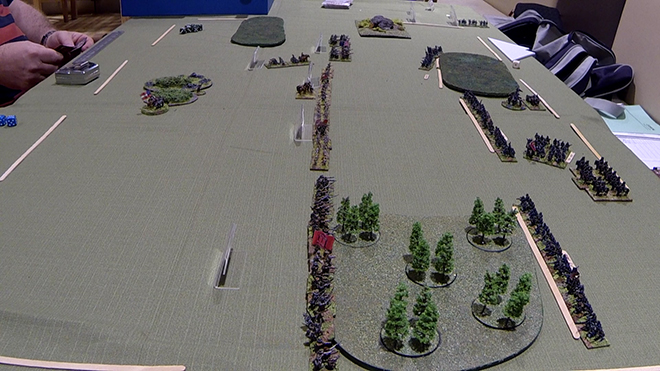
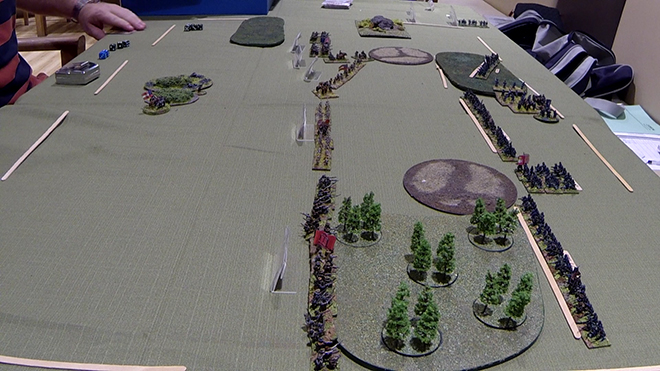
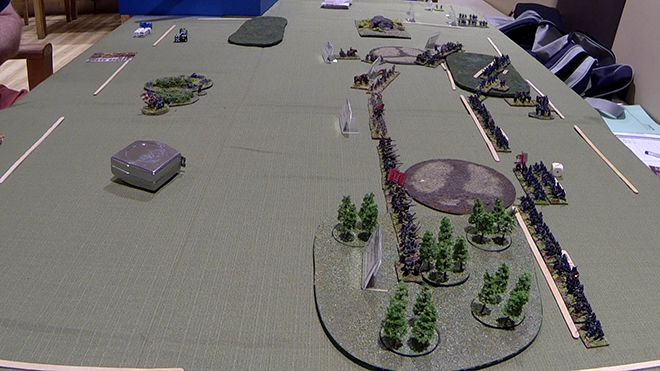
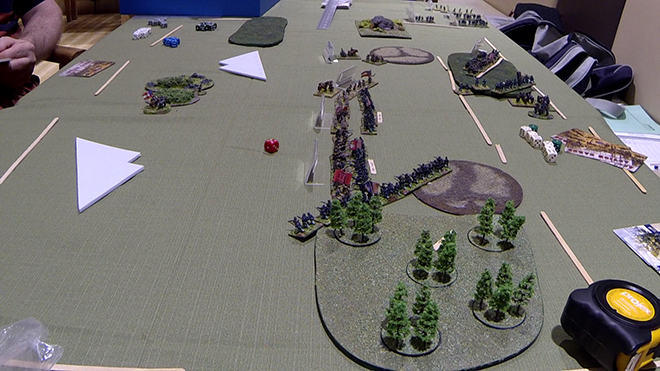
Confederates on the left and Union on the right.
MOVE ONE – CSA TURN
As last time, I won the initial dice-off and chose to be the attacking player and got to go first. I deployed to make him think that I was concentrating on his left but I had my eye on attacking his right so I started to move my Centre over to the Left.
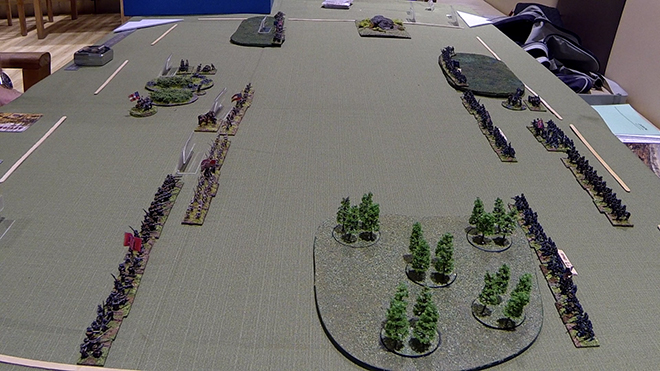
The Confederates make a move to their left in the centre expanding the frontage.
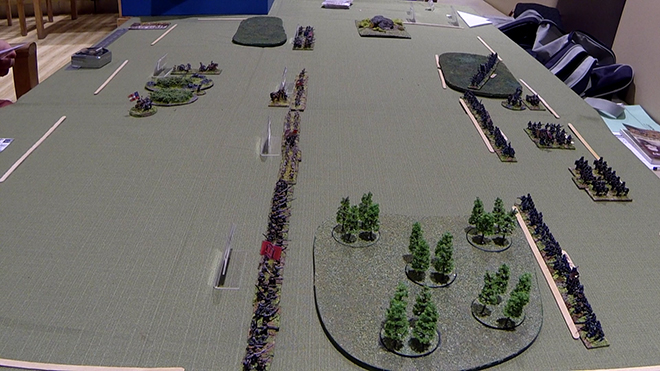
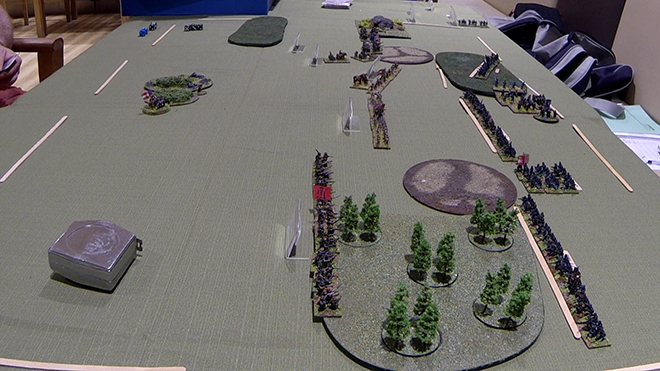
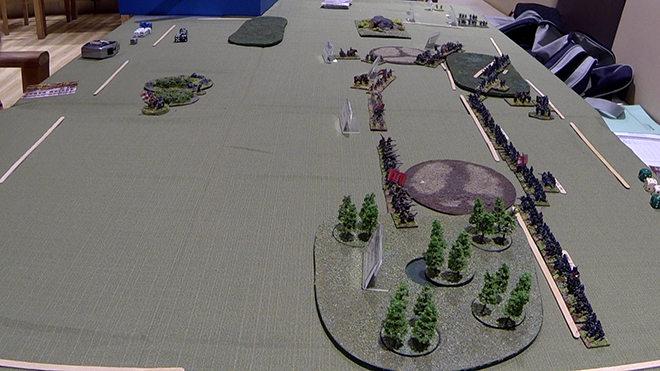
MOVE ONE – FSA TURN
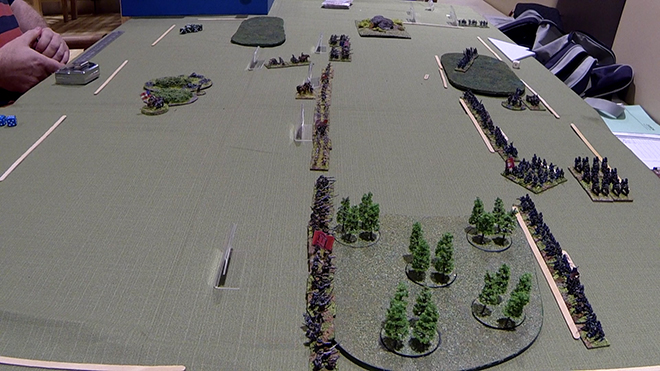
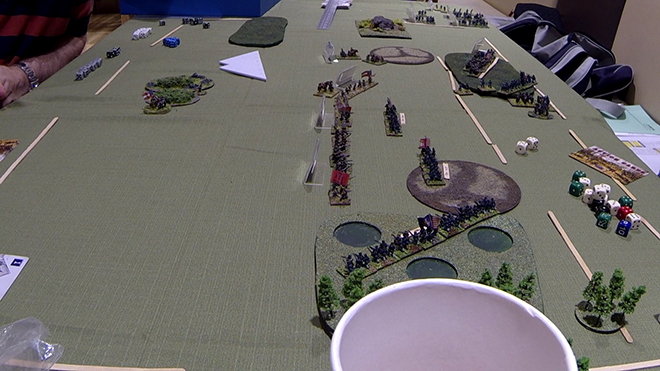
The Union stand their ground and the pioneers get out their trenching tools as John uses his Fire Phase to dig-in making him more difficult to hit.
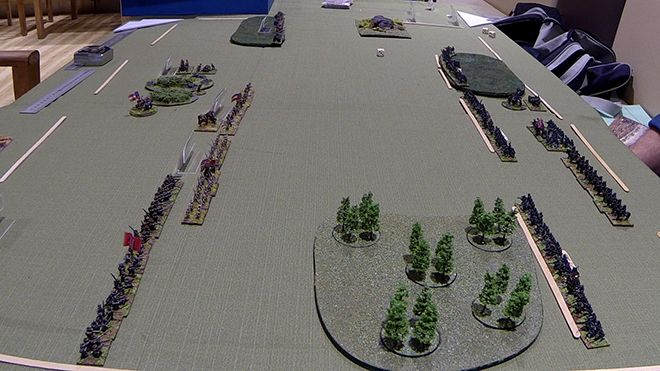
Union troops dig-in before the Confederates arrive.
We’re a sophisticated pair John and I as you can see by the use of the cafe’s stirring sticks for trenches. I’d also made smoke markers but they stayed in the box throughout the game, forgotten all about them.
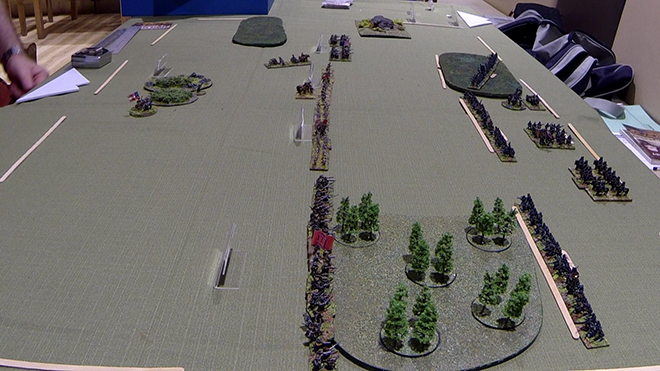
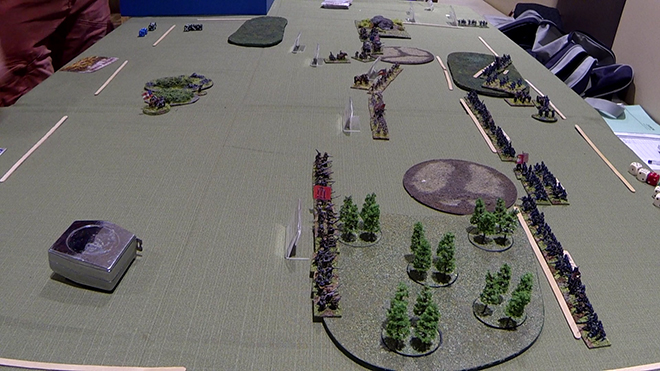
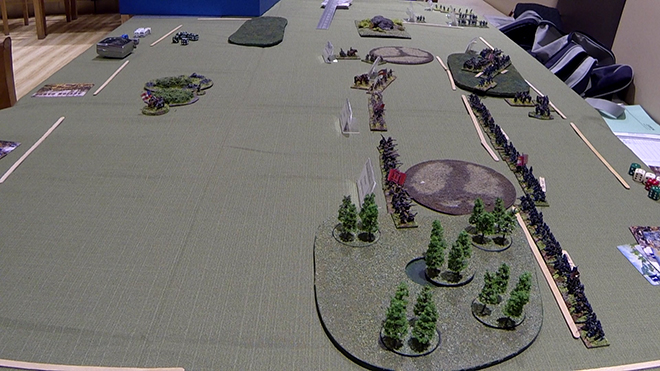
MOVE TWO – CSA TURN
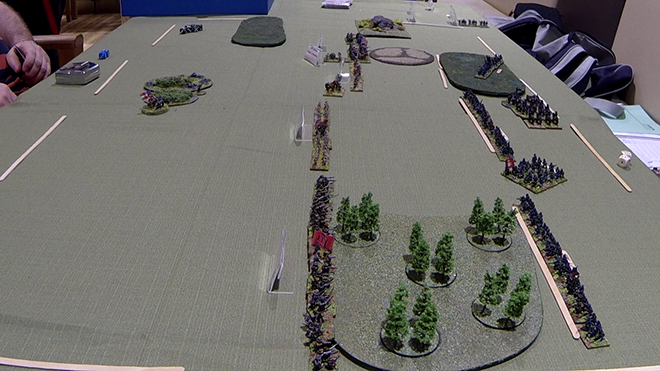
So with fairly even sides and the firing advantage to the Union, making any headway was now going to be tough. Having said that the Union forces were committed to remaining in place, at least for the moment, which suited my plan. Time to move up some more.
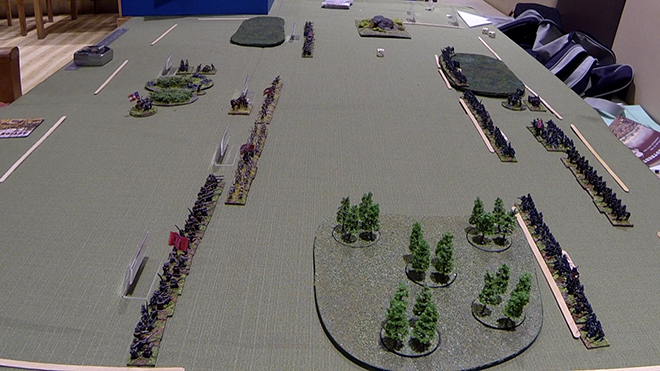
Another sidle to the left as the Confederates continue a reasonably slow advance forward.
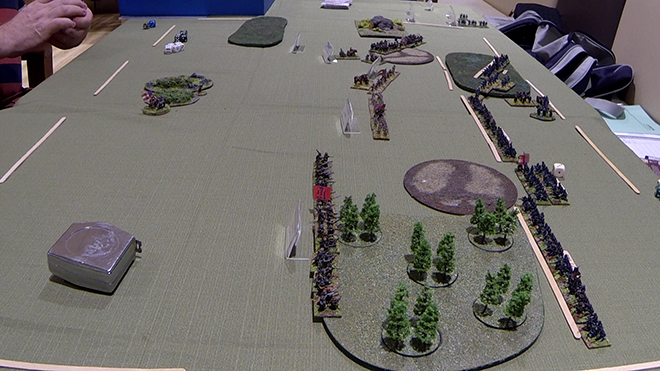
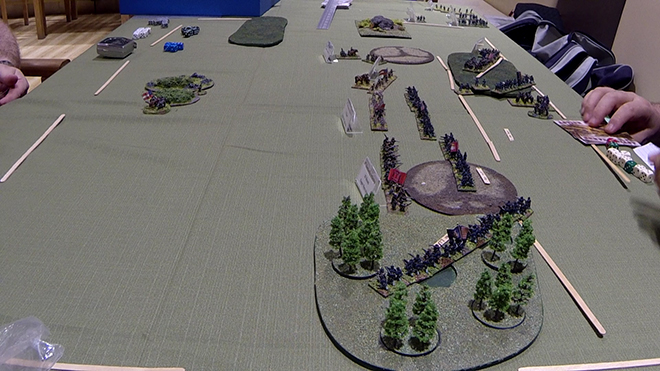
MOVE TWO – FSA TURN
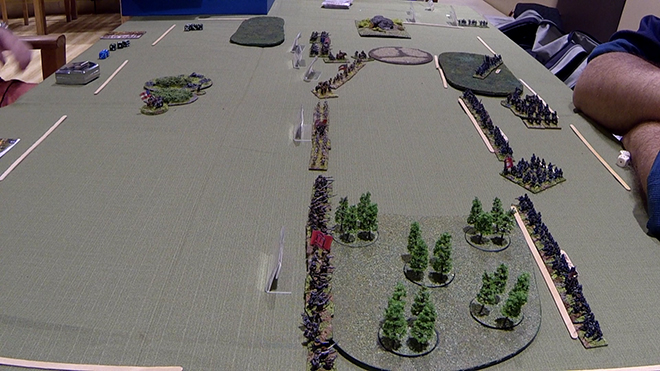
Not much happening yet as the remaining Confederate gun from the last battle tries to wear down the troops in the woods on the Union Right. John was wondering if he had placed his defences on his right in the correct position and with that doubt decided to move back.
Col. McDonald is a little uncertain if the defences are sufficient as the Confederates move every closer.
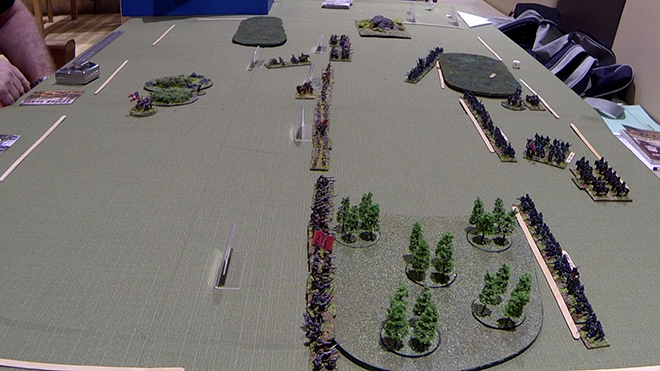
MOVE THREE- CSA TURN
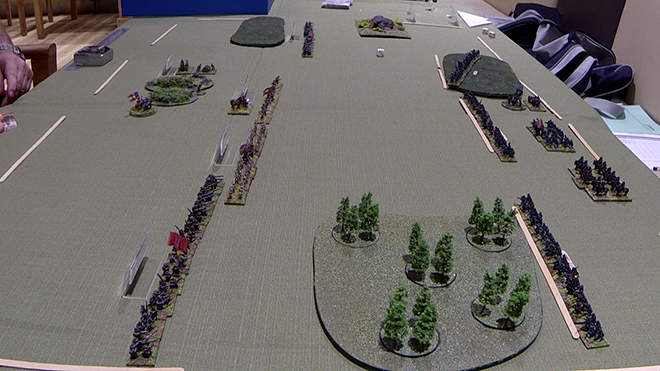
A little more manoeuvring and the Confederate Line has formed up ready for the push forward, or so I hope John thinks. The Centre is comprised of Veteran troops while those in front of the woods are recruits, eager to fight but unlikely to push John’s Left Flank off of their defensive line, especially if he reinforces it.
The Confederate Line forms up and the Left Flank troops change formation to avoid the rocky ground to their front.
MOVE THREE- FSA TURN
The Union forces continue with their retire through the woods on their Right Flank while the Centre Reserve changes formation ready to fill the gap.
Federal troops on the Right Flank continue to fall back.
MOVE FOUR- CSA TURN
Every unit now in place and ready to advance on the enemy. Good to know that the Union don’t have any artillery to hassle the troops as they sort themselves out.
General Advance
MOVE FOUR- FSA TURN
The Union infantry in the centre are marching forward heading for the gap in the line. The wonderful thing about Longstreet is the ability of the cards to flavour the game. In this turn I’ve managed to play a “Confusion” card during John’s movement phase and draw his Right Flank troops back out of the wood ready to give them the taste of hot lead.
Union troops begin the reorganisation to strengthen the line.
MOVE FIVE- CSA TURN
Taking advantage of drawing the Union troops out of the woods the Kentucky men let ’em have it! Really effective fire with three bases being removed. Now we have to chase them back in to the woods and press the advantage while I do a bit of demonstrating in the Centre and Right Flank.
The Confederate Left fire effectively at the Union Right.
MOVE FIVE- FSA TURN
The Union troops continue their readjustments to bolster the Centre with one regiment advancing in deep formation and the cavalry turn to the right to go help out the retiring forces.
Rattled by the effective fire the Yankees retire into the woods, again.
MOVE SIX- CSA TURN
Another of those Longstreet moments where John plays a Poor Surveying” card in my movement phase. He chooses a piece of rocky ground to slow my advance. Since I haven’t played two cards to allow me to negotiate Difficult Ground I have to halt. Well, I’m just close enough for my Veterans to engage in some Skirmish fire which is totally ineffective. One more move for John to get the Right Flank secured.

And then we suddenly found ourselves in broken ground!
MOVE SIX- FSA TURN
Playing an “Old Rivals” card I halt the advance of the Union troops in the centre but can’t stop the cavalry from moving off to support the Union Right Flank.
Cavalry race over to bolster the flank.
MOVE SEVEN- CSA TURN
John’s turn to play a “Confusion” card and he chooses to push back the troops on my far Left., another turn needed to sort that out and make my advance to contact. I’ve wheeled the Veteran dismounted cavalry to help putting some fire into the troops defending their hasty defences.
Some confusion on the Confederate Left.
MOVE SEVEN- FSA TURN
John takes the opportunity to build some more defences, bring his cavalry up in dismounted ordered and square the troops on his front line while the Confederate advance stalls.
MOVE EIGHT- CSA TURN
Continuing to press on the Confederates move the Centre and Left Flank up while the troops in the woods move over to support the centre. They might just be able to bring superior fire to bare in the Centre from the Veteran troops with support from either flank. The cards are going to have to be good so that any fire will be effective against dug-in troops.
MOVE EIGHT- FSA TURN
Federal cavalry move on up to support the troops in the trees while the centre gives fire. They manage to cause casualties with one base being removed. Thankfully the Veterans are facing Recruits and they need 5 or 6 to hit. I can play two cards to remove hits so have survived to put a shot back in.
Fire from the troops in the woods is desultory and the Eager Recruits can continue their assault unscathed.
MOVE NINE- CSA TURN
First phase is firing and I select my Veterans to shoot at his Centre. I’ve modified the fire of one of the units with a card that allows then to shoot twice with every base. Combined with the other unit and modified by John’s morale card I manage to score one hit. At least I am giving as good as I get, which is not too bad since I’m out in the open and he’s behind cover.
On the Left Flank my recruits move up.

MOVE NINE- FSA TURN
The Union troops who came under fire last turn volley fire at my Veterans in the Centre. I play “Obsolete Muskets” and John is firing on 6 to hit. He rolls and gets no hits. Fire from the troops in the woods causes a base to be removed from my dismounted cavalry. He’s wearing them down and I need to get in and force a combat.
MOVE TEN- CSA TURN
Firing at his now dismounted cavalry who have left a base out in the open, making him an easier target, the Veteran dismounted cavalry mange to kill them, with the help of a card giving me re-rolls on misses. Another hit and kill on John’s troops in the centre keeps the pressure on as we trade volleys.
Time to continue the pressure by moving my Left Flank up to charge distance and bring my Right Flank troops into firing range.
MOVE TEN- FSA TURN
John blast’s away at the new target that’s appearing in the woods on his Left. He scores 5 hits which I reduce to 3 with a morale card. He rolls to kill and all succeed. A startling blow to the new arrivals. More firing from the Centre reduces my Veteran infantry by another base.
The one good thing about the GoPro is you can go back over the game (useful when learning the rules) and see what has been done. It’s here that I realise that John is forgetting that it’s skirmisher fire from the woods and is rolling as normal. I, of course, didn’t notice this at the time and he secures another 3 hits on my dismounted cavalry. I burn up a couple of cards and he kills only one. Still in the game but they can’t take much more of this in the Centre. Thankfully no casualties are scored on my recruits who are marching forward boldly.
MOVE ELEVEN- CSA TURN
My turn to give him some hot lead. Artillery and dismounted cavalry fire on his dismounted cavalry score 5 hits which John modifies to 3. Sadly for him, playing a re-roll card for kills I eliminate 3 bases. I add another casualty to his troops who are not entrenched and move on to the movement phase, launching my recruits at his troops in the wood.
I’ve got 8 bases versus his 5. He gets to count the defences and I use my Eager status for attacking. He’ll roll 5 defensive dice at 3+ and I’ll roll 8 attacking dice at 4+. John rolls and gets 3 and I get 5 with my roll. The result is a positive attack number causing 2 bases casualties pushing John back. He plays a morale card and loses a base.
The rules state that you don’t need to move back directly away from the attacker and after his fall back roll John moves back 4″. This would put him off the table if it were directly back and the unit would be considered broken, i.e. removed from play and the bases counted as casualties. Trying to interpret the rules John falls back at an angle in order to stay in the game. This is another rule I think we have got wrong. He could have wheeled away but needs to be 4″ away from me at the end of the move where he has moved back 4″ at an angle and is closer than 4″ to me at the end.
MOVE ELEVEN- FSA TURN
After the Union fire phase I’m only down one base, the troops in the Right Flank woods taking the hit. I’ve played a card to prevent John from firing in the woods on the other side so my charging troops are safe for now.
In the Union Movement Phase John wheels his Left Flank to engage my recruits. He follows this up with the Centre troops advancing. He sees the danger of my recruits getting in behind him and rolling up the flank.

MOVE TWELVE- CSA TURN
I now have to make my fire count and hopefully reduce the odds a bit but with only one hit from the 8 veteran troops it doesn’t start well. Fortunately the recruits fair much better scoring 5 hits on his troops in the rocky ground who have just stepped forward. John reduces this to 3 and my kills are one each for the two units hit. Could have been better but I’ll just have to deal with the onslaught of Union troops.
For my movement I pull back the troops in the hope that I can get out of charge distance of his troops on the flank, playing a card that allows me to change formation and move. The recruits shuffle sideways and retire.
MOVE TWELVE- FSA TURN
The Union troops in the woods fire and cause casualties but that’s not going to matter after the next phase.
Well, so much for moving out of range. John plays a card giving him an extra 2″ charge. He hits my troops overwhelming the recruits. Again, from playing this game much earlier and misinterpreting the rules I get the combat wrong. I don’t give John his full weigh of troops against my recruits and he loses that combat when in effect he would have most likely won it. The assault on the Centre is easier to work out and I get that one right. To compound that error I get the casualty rates wrong. John loses that one (no surprise against 2 veteran units) and I take the negative number as casualties for each unit when he should only have lost one base. That’s the way the rules work, even though I don’t like this rule. He’s well beaten but just bounces off.
In my defence, John did have to roll again as he counted Seasoned troops as Eager and messed up the first combat. It doesn’t take much nowadays to spoil my concentration!
MOVE THIRTEEN- CSA TURN
While John’s casualties should not have been so severe he was very near his breaking point. He took 5 casualties that he shouldn’t have taken and was one away from breaking. In my fire phase I caused 5 hits and put him well over it, when in effect he should have been one away. At the end of each turn you roll for victory. You add the score of a D6 to the casualties already sustained and if the score plus the current casualties is equal or greater to half the game ends. It would have ended then but I had a counter charge phase to play to secure it, with the false results we got before.
Post Battle Report
It’s obvious that we’ve not got the rules correct yet. I’ve said to John that he must become familiar with the rules to and stop me when I make mistakes. I’ll try and remember the errors I’ve made and not repeat them in the next game.
It’s going to be tough for the Confederates next time as John pulled 6 artillery pieces from the campaign reinforcements phase and my Veterans succumbed to a terrible case of dysentery reducing their number. Next battle planned for 9th December.
